


Switching from YouTube to Spotify doesn't mean you have to lose your playlists. You can transfer your YouTube playlists to Spotify using third-party tools like Paradify, FreeYourMusic, or Soundiiz, which automatically match and move your songs between platforms. These tools do the work for you, so you don't have to manually search and add each song.
YouTube doesn't offer a built-in transfer feature due to licensing, but plenty of reliable services fill that gap. Some are free with basic features, while others have paid plans for unlimited transfers and automatic syncing. Usually, it just takes a few minutes and requires logging into both your YouTube and Spotify accounts.
This guide covers the best ways to move your playlists, compares popular transfer tools, and explains what to expect during the process. You'll get a sense of which option fits your needs and how to get your music collection running on Spotify fast.
Key Takeaways
- Third-party tools like Paradify and FreeYourMusic can automatically transfer your YouTube playlists to Spotify
- Most transfer services offer free versions with limitations and premium options for unlimited transfers
- The transfer process takes only a few minutes and requires logging into both streaming accounts
Overview of YouTube and Spotify Playlist Transfers
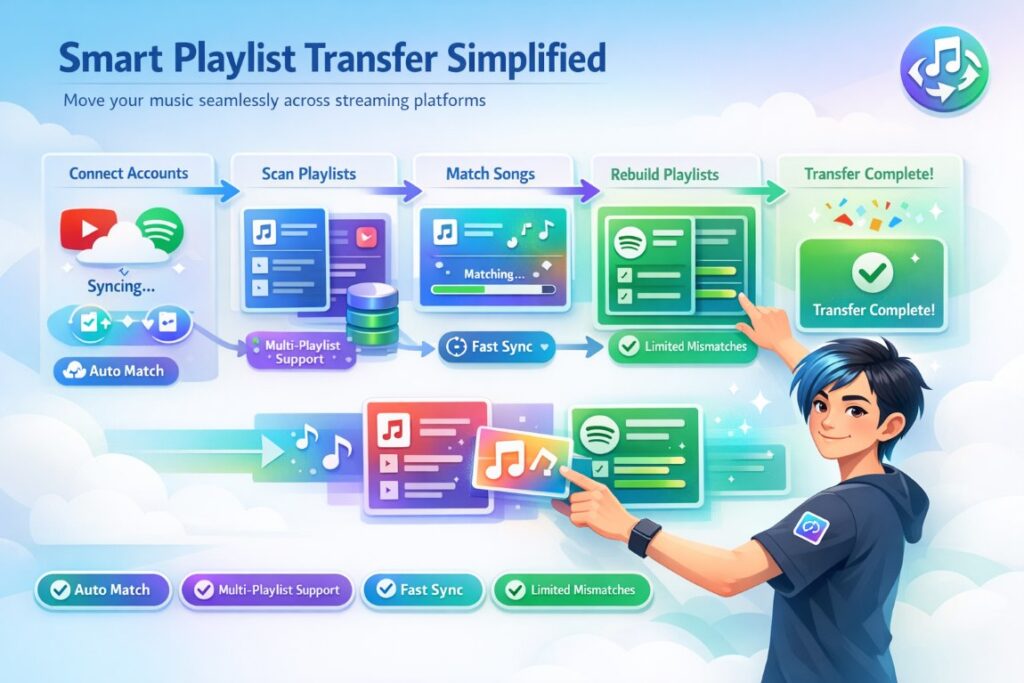
Moving your music collection between YouTube and Spotify means using third-party tools that match songs across platforms and rebuild your playlists. These services connect to both accounts and look for matching tracks using song titles, artists, and album info.
How Playlist Transfers Work
Transfer tools act as a bridge between YouTube and Spotify by accessing your playlists through authorized connections. You give permission for these services to read your YouTube playlists and write to your Spotify account.
The process matches songs from your YouTube playlist to Spotify's catalog using track names and artist details. Most services can handle multiple playlists at once or let you move individual songs.
Common transfer methods include:
- Web-based platforms like Paradify, Soundiiz and TuneMyMusic
- Desktop software that downloads and uploads music files
- Built-in playlist import features within Spotify
The tools scan your YouTube playlists and search Spotify's database for the same songs. When matches are found, they add those tracks to new or existing Spotify playlists under your account.
Benefits of Moving Playlists Between Platforms
Transferring YouTube playlists to Spotify saves you from the headache of searching for every song one by one. It's a lifesaver if you have big collections.
You keep your curated playlists even if you change music services. All that time spent organizing your songs doesn't go to waste.
Spotify brings features like offline listening, higher audio quality, and better playlist management. Once your playlists are on Spotify, you get access to those perks and can keep your music organized the way you like it.
You also get to try Spotify's recommendation system and social features after your music is moved over.
Understanding Compatibility and Limitations
Not every song on YouTube exists in Spotify's catalog. Live recordings, remixes, covers, and unofficial uploads are tricky—they often don't transfer because there's no exact match.
Transfer services usually match 70-95% of songs, depending on your playlist. Anything that doesn't transfer, you'll have to add manually if you want it on Spotify.
YouTube albums can't transfer to Spotify since the platforms handle albums differently. You can only move playlists, favorite tracks, and followed artists.
Some transfer tools are free for basic use but charge for bulk transfers or automatic syncing. How well your playlists transfer depends on how accurately the original YouTube videos are labeled.
Best Tools to Transfer a YouTube Playlist to Spotify
Several reliable tools can move your playlists from YouTube to Spotify without manual work. These platforms vary in speed, features, and pricing, but all handle the basic task of playlist conversion.
Using Paradify for Fast Transfers
Paradify is all about speed when moving songs and playlists from YouTube to Spotify. No need to search for each track yourself.
You can transfer complete playlists in seconds. Paradify supports both YouTube and YouTube Music as sources and matches songs automatically.
The process is pretty simple: connect your YouTube and Spotify accounts to Paradify, pick the playlists you want to move, and let the tool do its thing.
Paradify is a good pick if you want quick results and don't want to mess with slower tools or manual copying.
Soundiiz Step-by-Step Process
Soundiiz is a web-based playlist converter that works with lots of music platforms. The free version lets you transfer playlists with up to 200 tracks and one active sync. Premium plans unlock unlimited transfers and more syncing options.
To use Soundiiz, go to their website and click "Start now." Log in with your Spotify account, then let Soundiiz access your info. Next, connect your YouTube Music account.
Click "Transfer" and pick YouTube Music as your source. Choose the playlist you want to move, confirm your selection, and adjust any settings if you want. Then, set Spotify as your destination. The transfer usually takes a few minutes depending on playlist size, and Soundiiz shows which songs made it over.
Transferring with FreeYourMusic
FreeYourMusic is a cross-platform app for Windows, Android, iOS, Linux, and OSX. The basic version gives you unlimited song and playlist transfers and cloud backup. Premium users get auto-sync and dedicated support.
Download and install FreeYourMusic. Open it, select "Transfer," and choose either "YouTube" or "YouTube Music" as your source. Log into your account.
On the destination page, pick Spotify and sign in. Select the playlists you want to transfer. The app will process them and move them to your Spotify account.
FreeYourMusic is a solid choice if you prefer desktop software over web tools, giving you a bit more control over the process.
Other Options: SongShift and Youfy
SongShift transfers playlists between different streaming services, including YouTube to Spotify. You can move multiple playlists at once through its app interface.
Youfy is a free Chrome extension built for YouTube to Spotify transfers. It supports playlists with up to 50 videos and doesn't ask for personal info beyond login credentials.
Add Youfy to Chrome, pin it for easy access, then go to YouTube. Click the Youfy icon, sign into Spotify, pick your playlist, and hit "Transfer."
Youfy lets you work right from YouTube without switching sites, though the 50-song limit makes it better for smaller playlists. You can also import files as .txt if you need to.
Manual and Alternative Playlist Transfer Methods
You can move your music from YouTube to Spotify using hands-on methods that give you more control. These approaches let you rebuild playlists yourself or download songs to upload them directly to Spotify.
Manually Rebuilding Playlists
You can recreate your YouTube playlists on Spotify by searching for each song individually. No third-party tools needed here.
Open your YouTube playlist and jot down the song titles and artists. Then, open Spotify and look up each track, adding them to a new playlist as you go.
This approach takes the most time, especially for big playlists. Some songs might not be available on Spotify, and you may need to listen to previews to make sure you're adding the right version.
Downloading and Uploading Playlists
You can download YouTube Music tracks to your computer and then upload them to Spotify. Tools like Macsome YouTube Music Downloader convert songs to MP3, AAC, WAV, or FLAC—formats Spotify can read. To simplify this process, many users rely on dedicated tools like a YouTube MP3 Downloader that quickly converts videos into high-quality audio files ready for Spotify upload.
After downloading, open the Spotify desktop app and go to Settings. Turn on Show Local Files, then add the folder where your downloaded songs are stored.
Your downloaded tracks will show up in the Local Files folder on Spotify. You can add these songs to new playlists. This method is handy if you want songs that aren't available on Spotify's streaming catalog.
Keep in mind, downloaded files take up space on your device, and they're for personal use only.
Audio Quality and Metadata Concerns
Audio quality really comes down to your download settings and the original source. YouTube Music streams at about 256 kbps AAC, while Spotify Premium can go up to 320 kbps. Not a massive difference, but if you have the option, higher is generally better.
If you’re downloading and uploading tracks, FLAC or WAV formats are your best bet for top-notch quality. MP3s at 320 kbps are solid too, though. Anything lower and you’ll probably notice the drop in sound.
Metadata—stuff like song titles, artist names, albums, and cover art—can be a headache. Some tools keep this info intact, but not all. It’s worth double-checking your files to make sure everything looks right before tossing them into Spotify.
If the metadata is wrong or missing, organizing your library gets messy fast. You might have to roll up your sleeves and fix it yourself with your computer’s file manager or a music app. Not fun, but sometimes necessary.
%201.png)

%201.png)

%201.png)