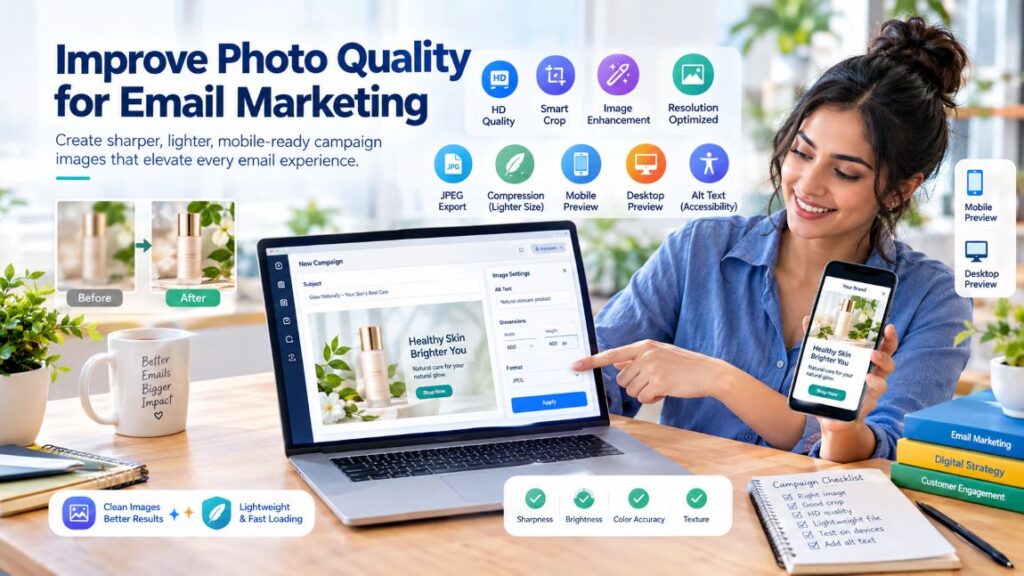

The campaign is ready to send. The offer is clear, the copy has been approved, and the product photograph looks fine in the shared folder. Then someone opens the test email on a phone. The image looks soft, the crop feels cramped, and a small detail that mattered to the offer has disappeared.
Photo quality problems often surface this late because teams review the photograph separately from the email. A better approach begins with the intended placement and carries the image through selection, editing, export, and testing. The aim is a clear, accurate photograph that supports the message without becoming a heavy download.
Start with the Image’s Job
Before editing, decide what the photograph needs to show. A product launch might require a clear view of a new finish. A customer story might benefit from a natural portrait. An event invitation may need a photograph that conveys the setting.
Select an image that communicates that point at a modest size. If the subject only becomes understandable when someone zooms in, it may not suit the email layout.
Check the available space in your template. A wide banner and a small image beside a paragraph need different crops. Knowing the placement early prevents unnecessary editing of material that will not fit.
Find the Best Source File
Use the original photograph or an approved high-quality export. Avoid screenshots, images saved from previous emails, and copies downloaded from messaging threads when a better source exists.
Inspect the file before uploading it. Is the subject genuinely out of focus, or is a small image being enlarged? Has heavy compression damaged edges? Is the photograph simply too dark?
If you have several versions, compare them at the intended display size. A stronger original is usually preferable to a heavily repaired copy. Keep the source untouched and save edits separately, especially when several colleagues contribute to the campaign.
Match the Photo to the Layout
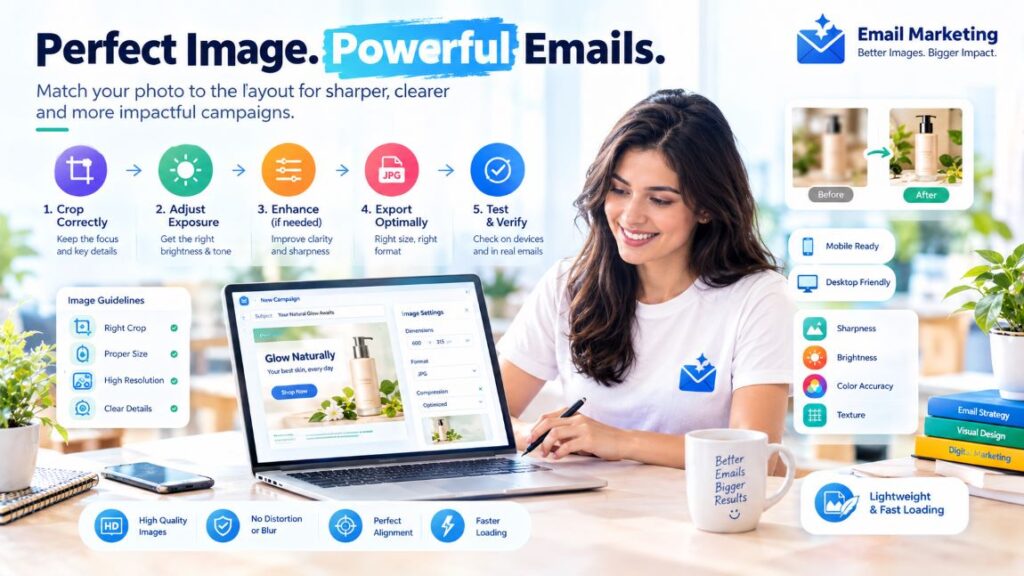
Correct the crop and basic exposure before making detailed adjustments. Leave enough room around the subject so that a mobile layout does not feel crowded. Check that essential features remain visible after cropping.
Choose export dimensions based on your template and email platform’s recommendations. High-density displays may benefit from an image with more source pixels than its displayed width, but a larger file is not automatically a better choice.
Visual assets also play an important role beyond individual email images. When preparing sales materials, teams should consider how images, graphics, and other visual elements support the message and make key information easier to understand. For more guidance, see our guide to using visual assets in sales proposals.
For example, a photograph displayed at 600 pixels wide may benefit from a 1,200-pixel-wide source on a high-density screen. Treat this as a starting point to test, not a universal requirement.
Enhance Only When There Is a Clear Need
A photograph with limited resolution or slight softness may be worth improving before it enters the email builder. Picsman’s Improve Photo Quality tool offers a place to try clarity and resolution enhancement using your source image.
Compare the result with the original at the same viewing size. Check whether the change makes the subject easier to understand, rather than simply making edges more pronounced.
When blur is the specific problem, you can also try Picsman’s image unblur tool. Treat it as an alternative to evaluate, not a compulsory second processing step.
Neither approach guarantees accurate recovery of missing information. If packaging text changes, fabric develops unusual patterns, or a face looks different, reject that version. A clearer alternative photograph may be the better choice.
Approve Accuracy Before Compressing
Ask someone familiar with the product or person to review the edited image. Marketers can spot layout problems, while a product colleague may notice that a material or colour no longer looks right.
Inspect labels, seams, surface textures, skin tones, and small accessories. Review the photograph within the email as well as on its own. An image that looks impressive in isolation may compete with the headline or bury the call to action.
Keep key offer details and the main call to action as live email content rather than relying entirely on text embedded in a photograph. The message should remain understandable even when images are unavailable.
Reduce File Size Without Undoing the Work
Enhancement and compression address different needs. Enhancement aims to improve appearance; compression reduces the amount of image data recipients must download.
Export a copy in a format supported by your email platform and target email clients. JPEG is often a practical choice for photographs. Adjust compression gradually and inspect fine edges and colour transitions for visible damage.
There is no single file-size limit that produces the right balance for every campaign. Consider the number of images, their display sizes, and the overall loading experience. Avoid exporting a huge photograph only to display it as a small thumbnail.
Keep your approved master separately from the compressed email version.
Send a Test, Then Save What Worked
Send the finished email to test accounts and review it on a phone and computer. Check the actual received message, not just the builder preview. Look for unexpected resizing, awkward crops, slow image loading, and broken links.
Add concise alternative text that explains the image’s role. Mailchimp’s alt text guidance explains how this supports recipients who cannot see images, including people using screen readers.
Record the dimensions and export settings that worked with the template. Save the original, approved edit, and final campaign asset with clear filenames so the next campaign does not start from scratch.
Better photographs cannot rescue an irrelevant offer. They can, however, remove avoidable distractions and help readers see what the email is asking them to consider.
%201.png)

%201.png)

%201.png)